
Hardware Guides
Cabinet Hardware Placement: Where to Put Knobs and Pulls
PullSupply · 4 min read
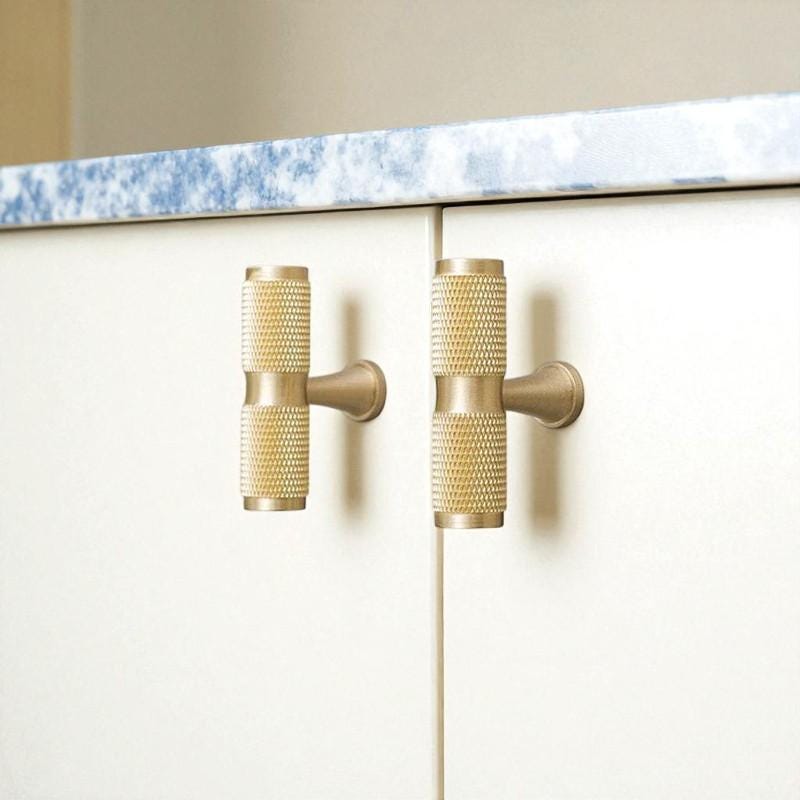
Two short T handles mirror each other near the meeting edges of the cabinet doors.
Put cabinet hardware on the side opposite the hinges. On an upper door, start near the lower corner; on a base door, start near the upper corner. On a drawer, start at the center from left to right, then choose a height that suits the front and feels natural to reach. Mark the spots with tape before you drill.
Where to place cabinet knobs and pulls
| Cabinet front | Where to start |
|---|---|
| Upper hinged door | Near the bottom of the opening edge |
| Lower hinged door | Near the top of the opening edge |
| Flat drawer front | Centered left to right; try the middle vertically |
| Deep or framed drawer | Compare the center with a higher, flat mounting area |
| Tall pantry door | Along the opening edge, at a comfortable reach |
Set the height on cabinet doors
On a pair of doors, mark both handles from the edges that meet. Match their height and distance from the meeting line. The short knurled T handles pictured above show how that mirrored placement looks on two base doors.
For a vertical bar pull, pick one end as your reference across doors of the same type: the lower end on uppers, or the upper end on lowers. Check the full outline of the bar as well as the screw locations. A tall pantry door is the exception to the usual corner placement. Hold the pull where you can reach it easily, then check the swing. These ribbed brass handles show a pair of vertical pulls aligned on tall wardrobe doors.
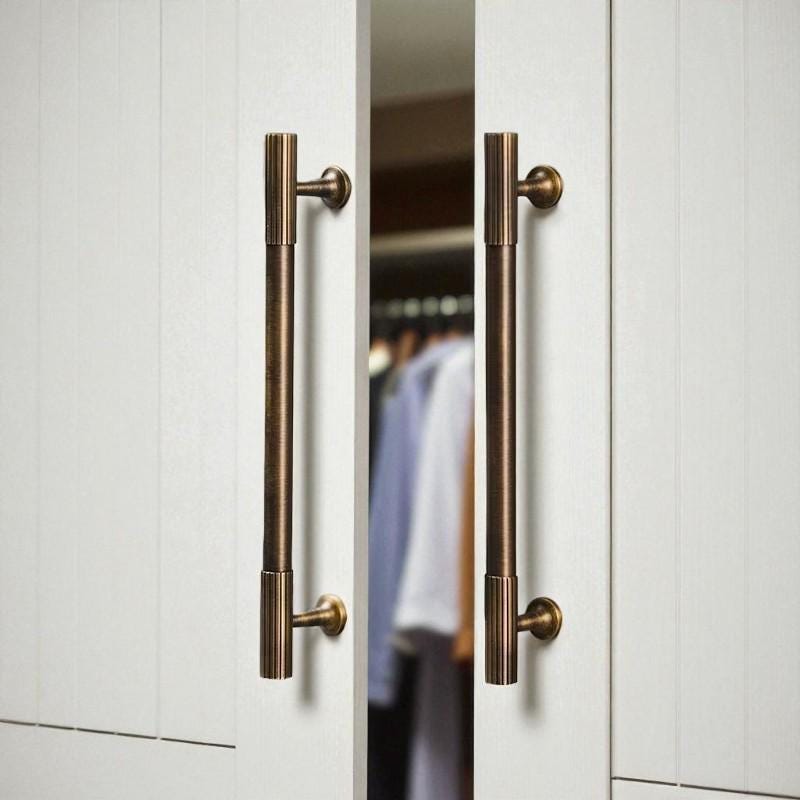
A pair of vertical pulls aligned along the opening edges of tall wardrobe doors.
Center drawer pulls and compare the height
For one pull, mark the drawer’s left to right centerline and center the whole handle on it. For two pulls on a wide drawer, mark a pair of points equally far from that centerline. Keep them at the same height. Compare the neighboring drawers with their fronts closed before committing to the marks.
The center of a shallow drawer is a useful first position. On a deep drawer, try holding the pull higher if reaching down feels awkward. For a shell or cup pull, such as the option in our antique brass shell handle collection, check that your fingers can reach beneath the cup. Hold the actual pull in place and check where its mounting holes fall.
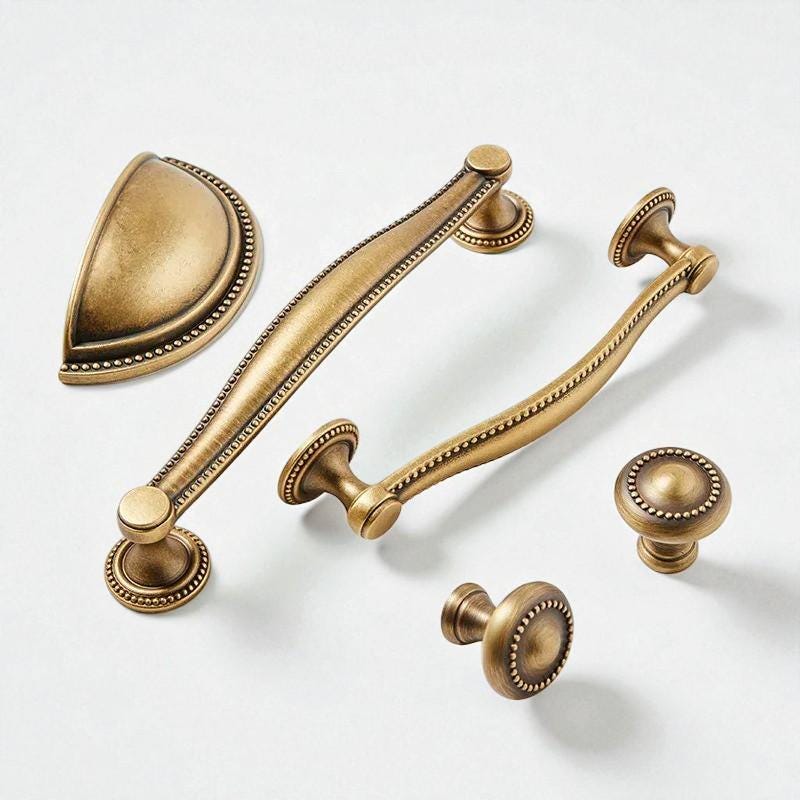
A shell pull and curved pulls use different mounting footprints. Mark the holes for the piece you choose.
Use the flat area of a Shaker front
A Shaker frame has vertical stiles and horizontal rails. On a conventional door, try centering the knob base or both feet of a vertical pull on the flat opening-side stile. On a framed drawer, compare the flat center panel with the upper rail. Both mounting feet need to sit flat, without straddling a bevel or the step down to a recessed panel.
Slim Shaker frames can be too narrow for the hardware footprint. Check the cabinet maker’s approved mounting area before drilling. If you move the hardware from the frame to a recessed panel, recheck the thickness at that point and the screw length.
Before drilling, check one front first
- Mark the actual centers. Use painter’s tape and hold the hardware up to it. Stand back to check the row, then check reach from where you usually stand.
- Open the neighbors. Check the proposed pull against adjacent doors, drawers, walls, and appliance handles. Look behind the marks for a hinge or drawer part that might obstruct a screw.
- Test the jig. Match the jig to the actual hardware and test its setup on scrap. Check one door and one drawer before repeating the pattern.
If you are reusing holes, start with our cabinet pull measuring guide. Still deciding on the shape? See when to use knobs or pulls, then bring the actual piece back to your layout.